Rainwater harvesting is a massive topic. Traditionally, it just meant harvesting it from the rooftop.
Over the years, several methods have been developed and it goes without saying that it has become more accessible.
But are you ready to do so?
I want to provide you with a guide on how to set up a rainwater harvesting system on your own.
Let’s go.
Planning Your Rainwater Harvesting System
Planning is a critical step in setting up a rainwater harvesting system.
The initial phase ensures that your system will meet your water needs efficiently and sustainably.
Roof Area and Rain Catchment Capacity

The first step in planning is to assess your roof area, which directly determines the amount of rainwater you can collect.
Measure the length and width of your roof to calculate the total catchment area. If your roof has multiple sections, measure each section separately and then sum the areas.
The larger the roof area, the greater the potential for collecting rainwater.
To estimate the potential rain catchment capacity, use the formula:
Catchment Area (m²) × Rainfall (mm) × Runoff Coefficient = Potential Harvest (liters)
The runoff coefficient accounts for losses due to evaporation, roof material absorption, and inefficiencies in the collection process.
For example:
- Metal roofs have a high runoff coefficient (around 0.85)
- Tiled roofs have a lower coefficient (around 0.75)
Calculating Required Storage
Next, determine your water usage and local rainfall patterns to calculate the required storage capacity.
Start by assessing your average daily and monthly needs for various purposes such as irrigation, toilet flushing, laundry, and even potable uses if applicable.
Look up historical rainfall data for your area to understand the typical rainfall patterns and volume.
Match your storage capacity to your usage and rainfall availability.
If you have consistent rainfall throughout the year, you may not need a very large storage tank.
In areas with distinct wet and dry seasons, a larger storage capacity is necessary to ensure you have enough of it during dry periods.
Considerations for Placement and Space
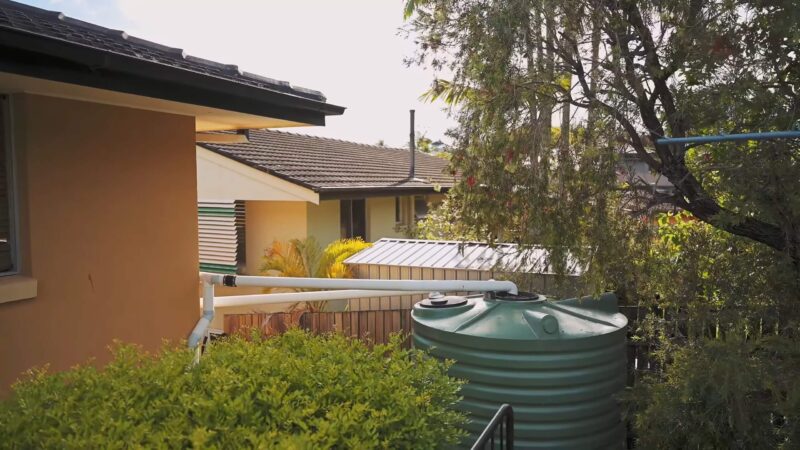
When selecting the placement for your rainwater storage tanks, consider both practical and aesthetic factors.
Ensure that the tanks are located where they can efficiently collect it from your roof’s downspouts.
The ground must be level and capable of supporting the weight of a full tank.
Avoid placing tanks in areas prone to flooding or where they may obstruct pathways. Space considerations are also important.
Ensure there is enough room not only for the tank but also for maintenance access.
Consider the visual impact of the tanks on your property and explore options like underground cisterns if space or aesthetics are a concern.
Other Planning Factors
Planning should also account for potential future expansions.
If you anticipate increased water needs or additional catchment areas in the future, plan your system with scalability in mind.
Later, integrate overflow management into your planning.
Design overflow paths to direct excess water safely away from structures and into appropriate drainage areas or secondary storage solutions.
What are the Main Components?
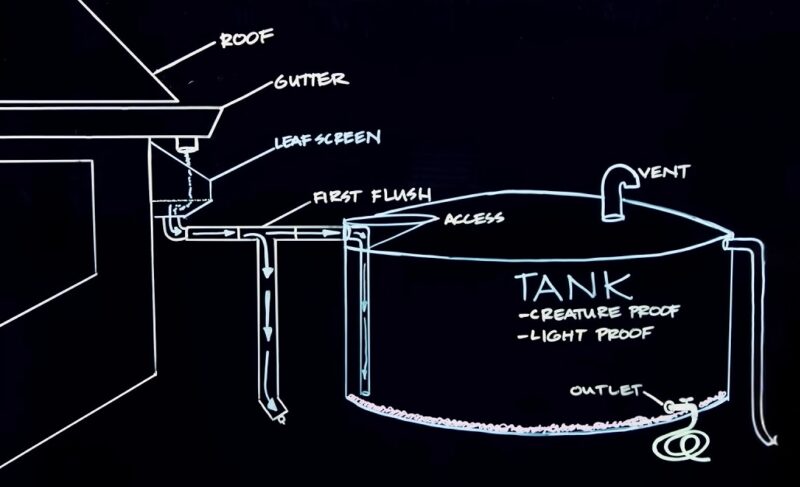
A rainwater harvesting system comprises several key components.
The catchment surface, typically your roof, is the first point of contact for rainwater.
Different roof types and materials can affect the quality and quantity such as:
- Metal
- Tile
- Asphalt
Conveyance systems include gutters, downspouts, and piping that direct water from the roof to the storage tanks.
Properly designed conveyance systems ensure efficient flow and minimize loss.
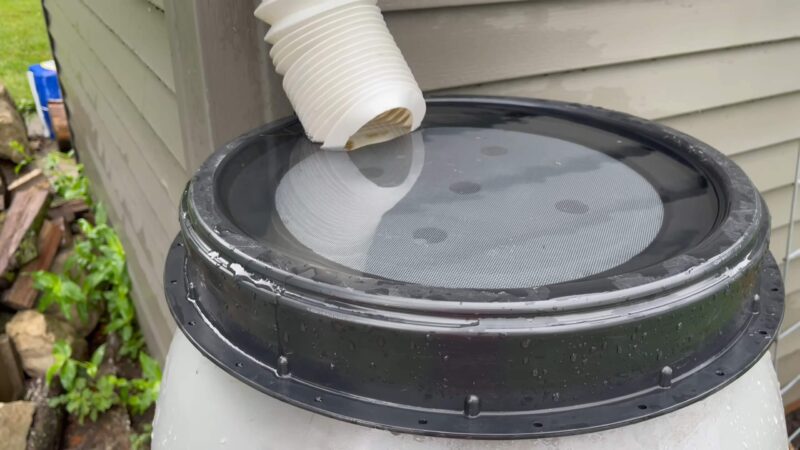
First-flush diverters and filters are crucial for removing debris and contaminants from the collected water.
These components help maintain quality by diverting the initial runoff, which typically contains the most impurities, away from the storage tanks.
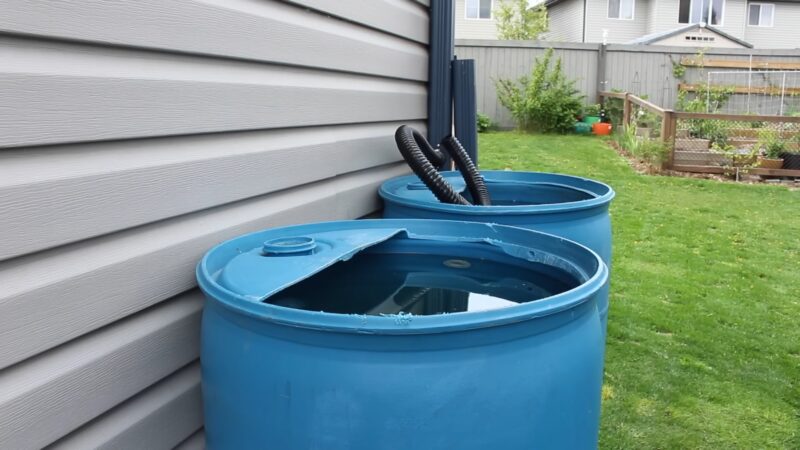
Storage solutions such as barrels, tanks, and cisterns come in various sizes and materials. Your choice depends on your needs and available space.
Ensure the storage containers are durable and safe for storing water. For potable uses, additional treatment and filtration systems are necessary.
These systems may include UV filters, activated carbon filters, or chlorination units to ensure the water is safe for drinking and other household uses.
Installation Steps
Installing a rainwater harvesting system involves several essential steps, each requiring careful attention to detail to ensure the system functions efficiently and effectively.
Here is a detailed insight of the installation process:
Installing Gutters and Downspouts
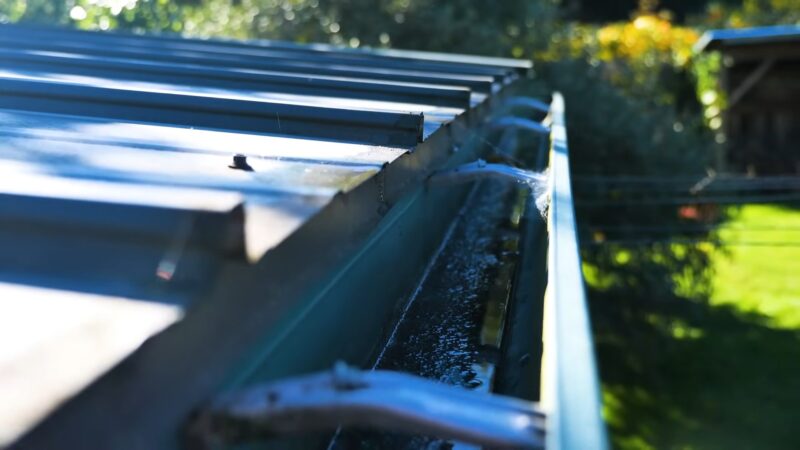
The first step is to install gutters and downspouts to collect and direct rainwater from the roof.
Begin by selecting gutters that are appropriately sized for your roof area to handle the expected volume.
Aluminum, vinyl, and galvanized steel are common materials used for gutters due to their durability and resistance to corrosion.
Securely attach the gutters to the roof edge, ensuring they are slightly sloped towards the downspouts to facilitate water flow.
The standard slope is about 1/4 inch for every 10 feet of gutter. This slope prevents it from pooling and ensures it flows smoothly towards the downspouts.
Downspouts should be strategically placed at the corners or low points of the roof to maximize water collection.
Ensure the downspouts are securely attached and directed toward the storage tank location.
Setting Up First-Flush Systems and Filters
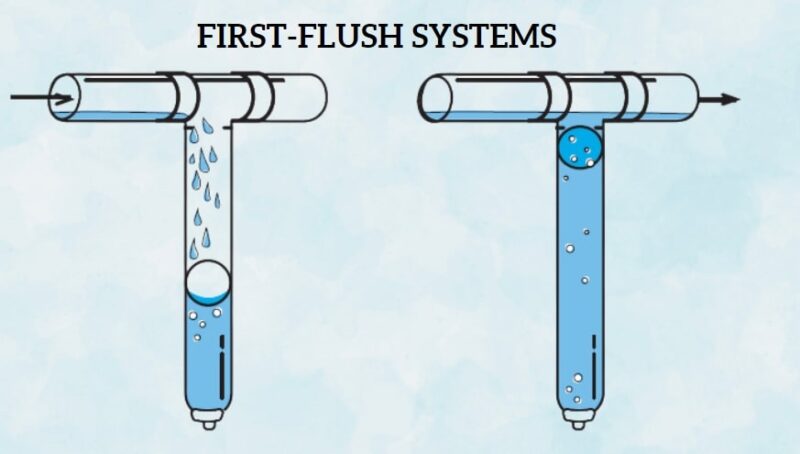
Next, set up first-flush systems and filters. The first flush system is designed to divert the initial runoff, which typically contains the most contaminants, away from the storage tank.
The system usually consists of a diverter pipe with a ball or flap mechanism that closes once the initial runoff has been diverted, allowing cleaner water to flow into the tank.
Install filters at various points in the system to remove debris and contaminants.
These filters can include mesh screens, sediment filters, and finer filtration systems depending on your intended water use.
Place a coarse mesh screen at the gutter outlet to catch larger debris like leaves and twigs.
Install a sediment filter in the downspout or just before the water enters the storage tank to remove finer particles.
Tank Installation and Foundation Requirements
Tank installation requires careful consideration of the foundation.
The ground where the tank will be placed must be level and stable enough to support the weight of a full tank.
A full tank can be extremely heavy, so a concrete pad or compacted gravel base is often recommended to provide a stable foundation.
Position the tank close to the downspouts but away from any potential obstacles or sources of contamination.
Ensure there is enough space around the tank for maintenance access.
Once the tank is in place, secure it with appropriate fasteners or straps to prevent movement, especially in areas prone to strong winds or seismic activity.
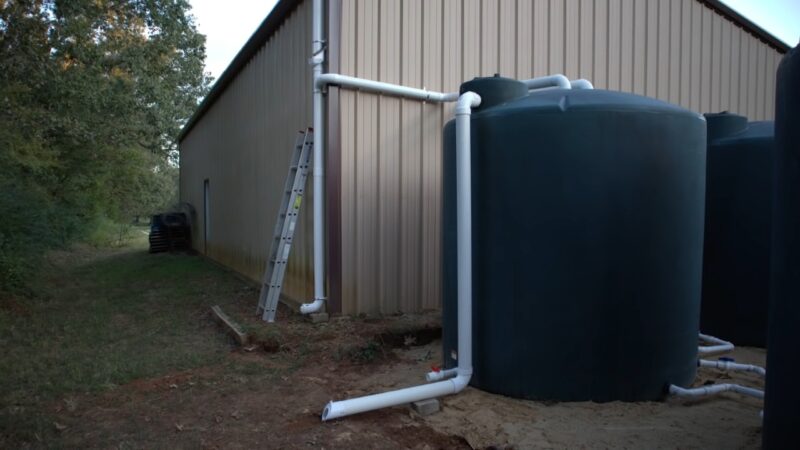
Plumbing Connections Between Components
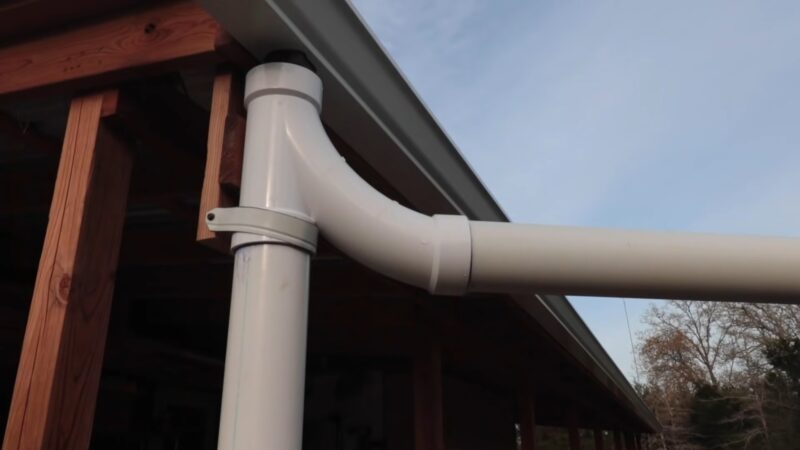
Finally, connect the plumbing between the various components of the system.
This step includes linking the downspouts to the first flush system and then to the storage tank.
Use PVC or other suitable piping materials that can handle the expected water volume and pressure.
Ensure all connections are properly sealed with waterproof sealant or tape to prevent leaks.
Pay special attention to the joints and fittings, as these are common points where leaks can occur.
After connecting the downspouts and first flush system to the tank, set up any necessary pipes for water distribution.
If your system includes a pump for distributing it to various locations, install the pump according to the manufacturer’s instructions and connect it to the tank outlet.
Make sure to include a check valve to prevent backflow and a pressure regulator if needed to ensure consistent pressure.
System Maintenance
Regular maintenance is essential for the optimal performance and longevity of your rainwater harvesting system.
Proper upkeep ensures that the system continues to operate efficiently, providing clean water and preventing costly repairs.
Routine Cleaning and Inspection
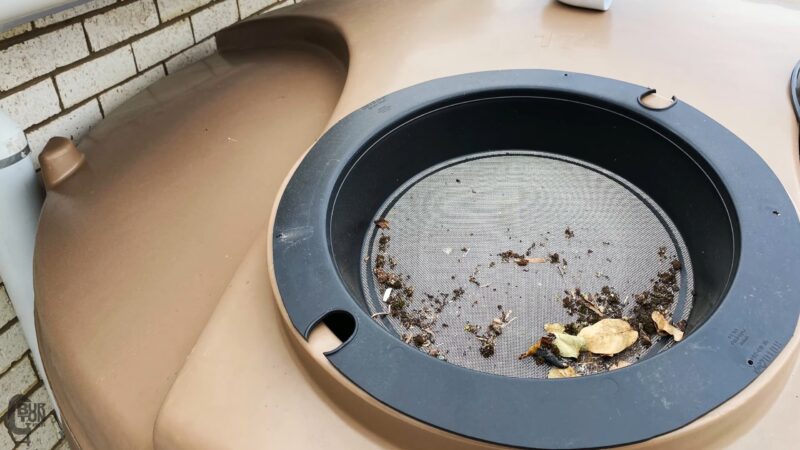
Start with routine cleaning and inspection of key components like gutters, downspouts, and filters.
Leaves, twigs, and other debris can accumulate in the gutters and downspouts, blocking water flow and reducing collection efficiency.
Clean these components regularly, especially after heavy rainstorms or during the fall when leaves are abundant. Inspect filters at the gutter outlet, first flush diverter, and any additional filtration units.
Clean or replace filters as needed to maintain their effectiveness.
Regularly check the entire conveyance system for any signs of wear, damage, or leaks. Promptly address any issues to prevent more significant problems down the line.
Managing Overflow
Managing overflow is crucial to prevent flooding and ensure that excess water is safely diverted away from your storage tanks.
Install overflow pipes that direct excess water to appropriate drainage areas, such as gardens, soakaways, or secondary storage tanks.
Regularly check overflow pipes to ensure they are clear of blockages and functioning correctly.
During heavy rain events, monitor the overflow system to make sure it handles the excess water efficiently.
Installing an overflow alarm can be a useful addition to alert you when the tank reaches its capacity.
Preventing Stagnation
Preventing water stagnation is essential for maintaining the quality of the stored water.
Stagnant water can become a breeding ground for mosquitoes and other pests, and it can develop unpleasant odors and tastes.
To prevent this, use airtight lids on your storage tanks to minimize exposure to air and light, which can encourage the growth of algae and bacteria.
Periodically use the collected water to ensure turnover and introduce fresh water into the system.
If possible, design your system to ensure that water is used and replenished regularly. This practice keeps the stored water fresh and reduces the risk of stagnation.
I’m Cameron Lowery, an agriculturist based in the beautiful state of Vermont. Through my writing, I’ll guide you on how to maintain your gardens effectively while embracing sustainable practices.