Organic gardening can be challenging, especially for beginners.
However, several practical tips can help new gardeners establish their gardens more effectively.
In this article, I’ll share some essential advice to ensure you begin gardening successfully.
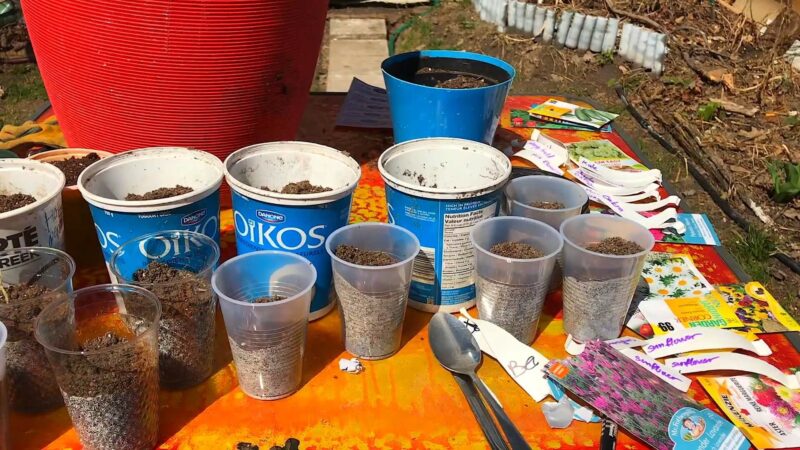
1. Ice Cream Tubs, Yogurt Pots, Cream Pots – Free Plant Labels / They’re Waterproof
Repurposing household items is both cost-effective and eco-friendly.
I use old ice cream tubs, yogurt pots, and cream containers as plant labels in my garden.
These items are waterproof and durable, making them ideal for outdoor use. This practice helps reduce waste by giving new life to these containers.
Here’s a simple process to create plant labels out of these containers:
- Clean the containers thoroughly to remove any residue and to minimize the risk of contamination in the garden.
- Cut the containers into narrow strips suitable for writing. You can use scissors or a cutting tool, but be cautious while handling sharp objects.
- Write the plant names on the strips with a waterproof marker to ensure that they don’t fade away easily.
- Poke holes at the bottom of the strips to make it easy to insert them in the soil.
Besides these, you can also get creative and decorate the plant labels with minimalistic designs, symbols, or icons, which add a touch of personalization to your garden.
To make these labels even more durable and long-lasting:
- Apply a layer of clear nail polish or transparent adhesive tape over the writing.
- Opt for thicker containers or double-layer weaker containers to make the label more rigid.
Additional tip: If you have numerous yogurt pots and cream pots, you can also use them as temporary pots for seedlings or cuttings. Make sure to poke holes at the bottom for drainage and fill them with an appropriate potting mix.
2. Covering Tomatoes with Mulch After Placing Them on A Surface on a Raised Bed
2.1. Once tomatoes grow above it, cover them with more mulch
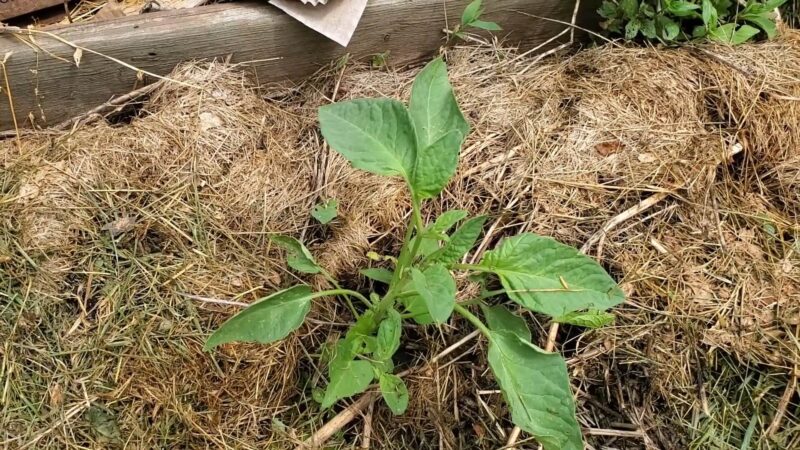
Using organic mulch is an effective way to provide nutrients and protect your tomato plants.
Once you’ve planted your tomatoes in a raised bed, wait until they are about 3 inches tall before adding mulch around their base.
This helps prevent diseases from splashing onto the plants during watering or rain.
As the plants grow to about 12 inches tall, add a 2 to 3-inch layer of mulch around them.
Organic options like shredded leaves, straw, or grass clippings are best.
They nourish the roots, help retain soil moisture, control weeds, and prevent soil erosion.
2.2. Testing Soil Composition
Before planting tomatoes in my raised bed, I always check the soil composition.
I use a home soil test kit, which you can find at any garden store or online, to measure the pH level and nutrient content of the soil.
Tomato plants do best in well-draining soil with a pH between 6.0 and 6.8
The ideal soil mixture for growing tomatoes should consist of:
- 40% topsoil
- 30% compost
- 20% perlite or vermiculite
- 10% peat moss or coconut coir
2.3. Harvest is a couple of weeks after flowering
After taking care of your tomato plants for several weeks, you’ll be ready to harvest the fruits.
Typically, the first flowers appear about 6 to 8 weeks after you transplant the seedlings.
From the time the flowers set fruit, it usually takes about 6 weeks for the first tomatoes to ripen, although this can vary based on the tomato variety and weather conditions.
Monitor the development of the tomatoes after they flower, and plan to harvest them about two weeks after the first fruits form.
For the best flavor and nutrients, pick the tomatoes when they are fully ripe and have a deep, vibrant color.
3. Seed Trenches
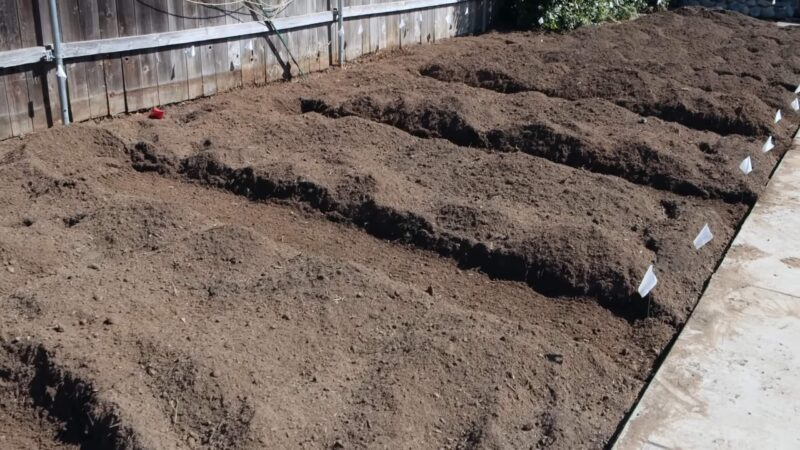
3.1. Use a bamboo or any other stick to make trenches
- Choose Your Stick: I recommend a bamboo stick because it’s durable and has a smooth surface, but you can also use a wooden dowel or an old broom handle.
- Determine the Trench Depth: Check the seed packet or a reliable gardening guide for the right planting depth for your seeds. Mark this depth on your stick.
- Create the Trench: Place the stick at the marked depth into the soil and gently press it down as you move along your planting row. This helps keep the trench depth consistent.
- Sow the Seeds: Drop the seeds into the trench, spacing them as recommended to avoid overcrowding, which can hinder growth and increase disease risk.
- Cover the Seeds: Push the soil back over the seeds, covering them to the depth you marked earlier. Press the soil down lightly to make sure there’s good contact between the seeds and the soil.
4. Cardboard Tubes Like Loo Rolls
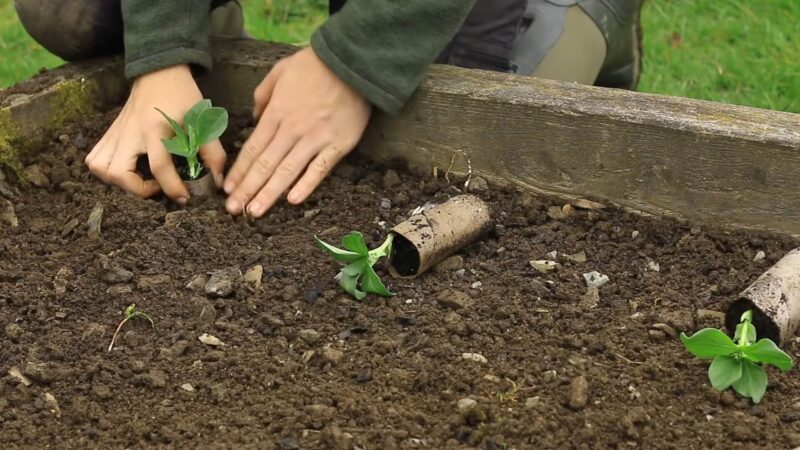
4.1. Biodegradable plant roots, they don’t disturb roots
These tubes are biodegradable and inexpensive, making them great for nurturing strong roots without disturbing them when you transplant the plants.
Cardboard tubes are ideal for planters because they decompose at a pace that allows roots to grow through them. They’re also lightweight and easy to manage, which means you can move your plants to their permanent spots without disrupting the roots too much.
4.2. Less stress for the plant during the transplant
- Less Root Disruption: Keeping the roots encased in cardboard tubes minimizes root shock during transplant because the roots remain undisturbed.
- Maintains Moisture Balance: The cardboard helps retain moisture around the roots, ensuring the plants stay hydrated during the transplant.
- Adaptable to Soil: The cardboard integrates smoothly with the new soil, reducing the adjustment period for the plant roots.
4.3. Cut on four parts to close the pot
To get the most out of using toilet paper rolls as planters, follow these steps:
- Cut Slits: With scissors, cut four equal-length slits at one end of the toilet paper roll.
- Fold to Form a Base: Bend the slits inward to create a bottom for the pot, sealing off the end.
- Prepare the Soil: Fill the tube with a good potting mix and plant your seeds or seedlings inside.
- Transplant: When it’s time to move your plants to the garden, plant the entire setup—cardboard tube, plant, and all—directly into the soil.
5. Using Food Scraps As Compost, or As an Addition to Compost
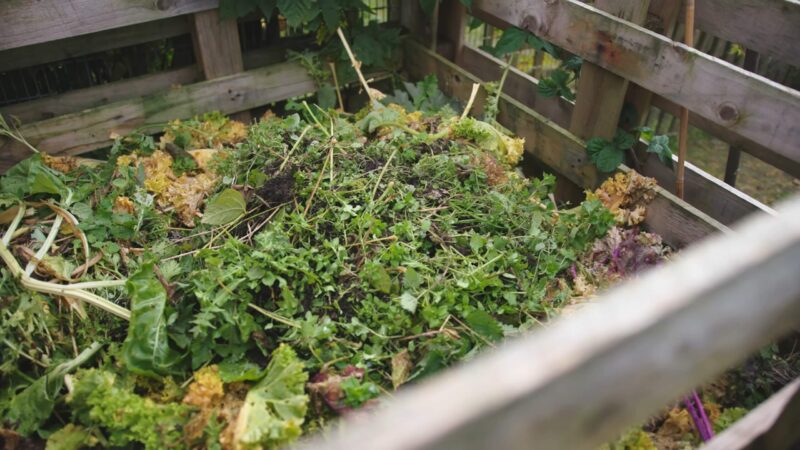
It involves transforming organic waste into nutrient-rich soil additives, reducing waste, and providing fertilizer for the garden.
Here’s how to compost food scraps:
- Collect Scraps: Gather kitchen scraps like fruit/vegetable peels, eggshells, coffee grounds, tea bags, and small amounts of bread or grains.
- Aerate the Pile: Regularly turn the compost to promote breakdown and prevent odors.
- Maintain Moisture: Keep the compost pile damp but not overly wet.
- Allow Time: Composting takes time, often several months to a year; patience is essential.
Compostable materials are divided into two categories:
- Green Materials: Rich in nitrogen, such as fruit and vegetable scraps.
- Brown Materials: High in carbon, like paper products and sawdust.
Maintaining a balanced ratio of green to brown materials, ideally 3:1.
5.1. Adding weeds can be helpful
Here’s what to do before adding them:
- Remove Seeds: Take off any flowers or seeds to prevent them from growing later.
- Skip Invasive Weeds: Avoid adding weeds like bindweed or quackgrass that might survive composting and spread.
- Chop Them Up: Cut the weeds into smaller pieces to help them decompose faster.
6. Banana Peel Fertiliser
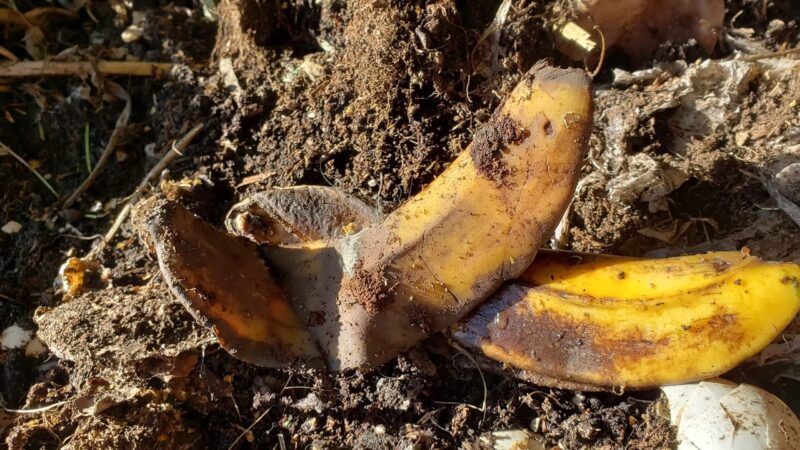
6.1. Soak them in water for a couple of days
A simple way to make organic fertilizer is to use banana peels. Just gather the peels from your bananas and put them in a jar of water. Cover the jar with a lid or a cloth and let it sit for about 48 hours. This process allows the nutrients from the peels to infuse the water.
6.2. Use the liquid and dilate it with water in a 1:5 ratio
Once the banana peels have soaked for a couple of days, you can use the nutrient-rich water on your plants. Just remember to dilute it first—mix one part of the banana peel liquid with five parts water before applying it to your plants.
6.3. Use it to water the plants
Now that your banana peel fertilizer is diluted, you can use it to water your plants. Pour the mixture generously around the base of your plants, making sure it soaks into the soil to reach the roots. For best results, apply this liquid fertilizer every 2-3 weeks.
6.4. The benefit is potassium which enhances growth
Using banana peel fertilizer is especially beneficial because it boosts the potassium levels in your plants.
Potassium is crucial for plant health, supporting several vital functions:
- Photosynthesis: It improves the efficiency of photosynthesis, helping the plant produce more energy.
- Root Development: Adequate potassium is essential for developing strong roots, which enhances the plant’s ability to absorb nutrients.
- Disease Resistance: Potassium strengthens the plant’s cell structure, making it more resilient to diseases.
7. Egg Boiling Water For Plant Watering
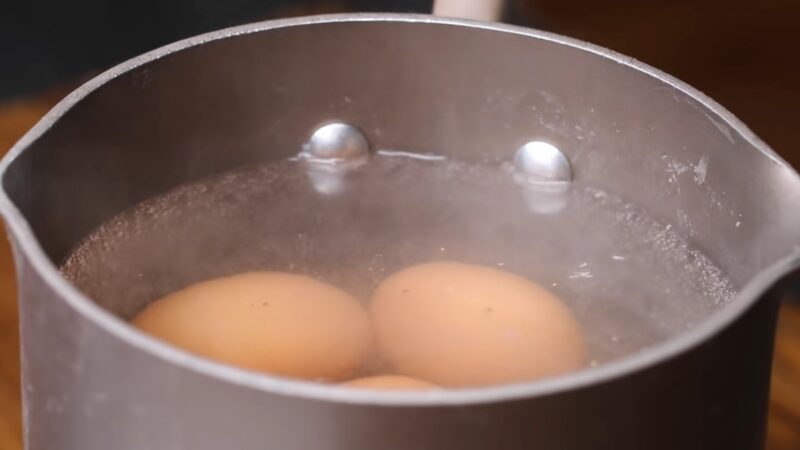
When you boil eggs, calcium and phosphorus from the shells leach into the water.
These nutrients are valuable for plant health. Calcium helps strengthen plant cell walls, and phosphorus supports root development and flower growth.
By watering your plants with this nutrient-rich water, you can enhance their growth and overall health.
7.1. Calcium and phosphorus
Calcium Benefits for Plants:
- Strengthens cell walls.
- Promotes healthier root systems.
- Helps balance the ionic charge in cells, which improves nutrient uptake and regulates cell expansion.
Phosphorus Benefits for Plants:
- Aids in cell division, which is vital for growth.
- Supports the development of strong root systems.
- Helps with seed germination and strengthens plant tissue.
Tips for Using Egg Boiling Water:
- Always let the water cool to room temperature to avoid damaging the plants.
- Use the water within a day to ensure the nutrients are still potent.
- Not all plants need the same nutrients, so it’s good to check which of your plants will benefit the most from the extra calcium and phosphorus. For example, tomatoes, peppers, and cabbage often respond well since they thrive in slightly alkaline soil conditions.
8. Tea Waste or Coffee Grounds as Organic Fertilizer
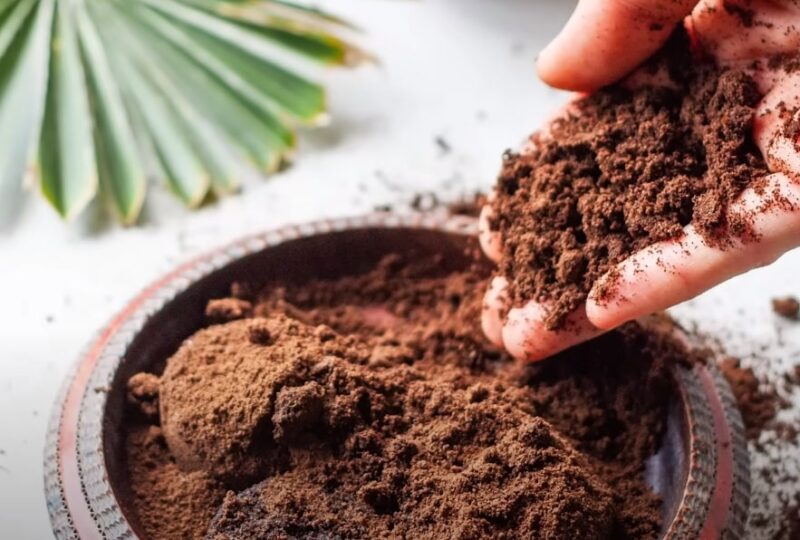
Here’s how gardeners typically use these materials to enhance their gardens:
Advantages:
- Nutrient Rich: Tea and coffee grounds are loaded with nitrogen, phosphorus, and potassium, which are crucial for healthy plant growth, flowering, and fruit development.
- Soil Improvement: These materials help improve soil water retention, aeration, and drainage, creating an ideal environment for root growth.
Methods of Application:
Direct Soil Application:
- Sprinkle a thin layer (about 1/4 inch) of tea waste or coffee grounds on top of the soil.
- Mix it gently into the top few inches of soil using a rake or hand cultivator.
Mixing with Compost:
- Add tea waste and coffee grounds to your compost bin, alternating with layers of other organic materials like kitchen scraps, leaves, and grass clippings.
- Turn the mixture occasionally to aerate and help the compost mature.
- Once ready, spread the compost over your garden soil and mix it in lightly.
9. Epsom Salt and Seeds
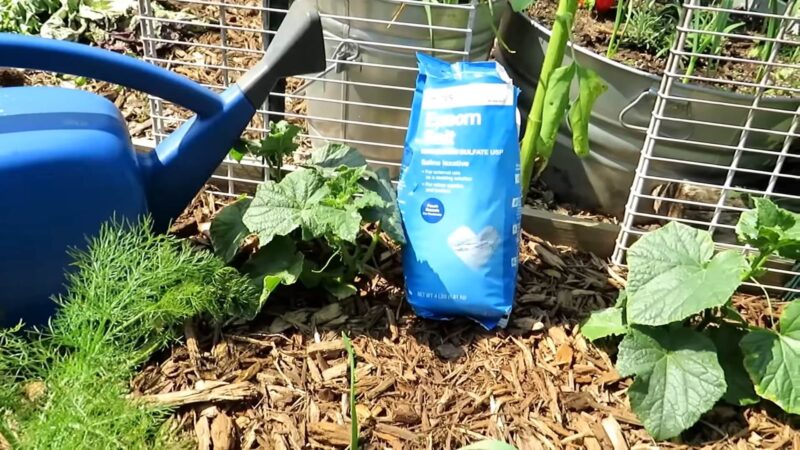
9.1. Epsom Salt Should Be Diluted in Water
The general guideline is to mix 1 tablespoon of Epsom salt per gallon of water.
This dilution helps avoid any potential harm to sensitive roots or seeds.
Here’s how to prepare and use the Epsom salt solution:
- Fill a container with one gallon of water.
- Add 1 tablespoon of Epsom salt.
- Stir the mixture until the Epsom salt is completely dissolved.
- Water your plants or soil with the solution.
9.2. Soak Seeds in Epsom Salt to Enhance Germination
I soak seeds in an Epsom salt solution to help them germinate faster and stronger.
Here’s how I do it:
- I mix 1 teaspoon of Epsom salt with one cup of water.
- I place the seeds in a shallow dish.
- I pour the Epsom salt solution over the seeds to make sure they’re fully covered.
- I let them soak for 12-24 hours before planting them in the soil.
Notice: It is essential to avoid soaking seeds for more than 24 hours since it might negatively affect the germination process.
Harley Wilson, from Vermont, carries on a family legacy of organic farming, with a focus on supporting pollinators. Inherited his farm from his grandfather, his dedication to the land Harley also teaches his children the value of hard work through hard work.